Jump to section:
- What is a sound mat?
- Benefits of a sound mat
- Step-by-step guide fitting guide
- Shop bundles
The go-to guide for keen DIYers
Are you eager to get your hands dirty and lay a wood flooring that won’t only be beautiful to look at, but will save you the annoyance of creaks and squeaks? If so, read on for everything you need to know about fitting a soundproof mat under wood flooring.
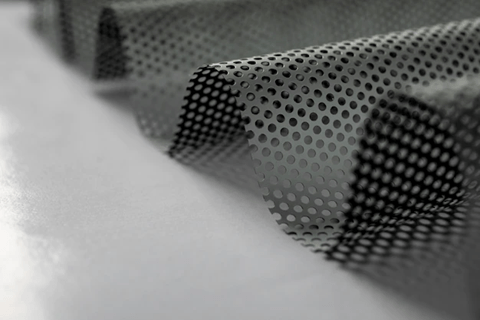
So, what is a soundproof mat?
In simple terms, it is a mat that stops sound (or reduces it) which lies beneath your wood flooring and helps to minimise the unnecessary clatter of footsteps.
How a sound mat can help your home
If you’re undecided on whether or not a soundproof mat is the way to go for you, check out a list of benefits of installing one, below:
- Reduces the transmission of sound in multistory buildings, apartments and houses
- Minimises impact noise, like footsteps or dropping objects
- Added insulation
- Moisture protection
- Overall improved flooring stability
- Prolongs wood flooring lifespan
- Smoother, more even surface
Installing your sound mat
Proper installation is key to ensuring your soundproof mat works effectively. Read on for our step-by-step guide:
Step 1: Measure the room
Measure the length and width of the room to determine how much sound mat you will need. Purchase enough to cover the entire floor, plus an extra 10% for cutting and waste.
Step 2: Prepare the subfloor
Ensure that the subfloor (a structurally sound flat surface to hold up the underlay, but above the joist) is clean, dry and level. Remove any debris or obstacles. It’s also a good idea to check the moisture content of the subfloor and make any necessary adjustments before sound mat installation.
Step 3: Acclimate the sound mat
Store the soundproof mat in the room or space it will be fitted, so that it can match the temperature and humidity for at least 48 hours before installation. During this time, don’t disturb the soundproof mat, this will allow it to settle and adjust to the environment.
Step 4: Roll it out
Roll out the sound mat over the subfloor, starting at one end of the room and working your way to the other. Unroll the mat with the shiny side facing up. Use a knife to cut the mat to the length of the room, leaving a 1/4-inch gap between the mat and the wall.
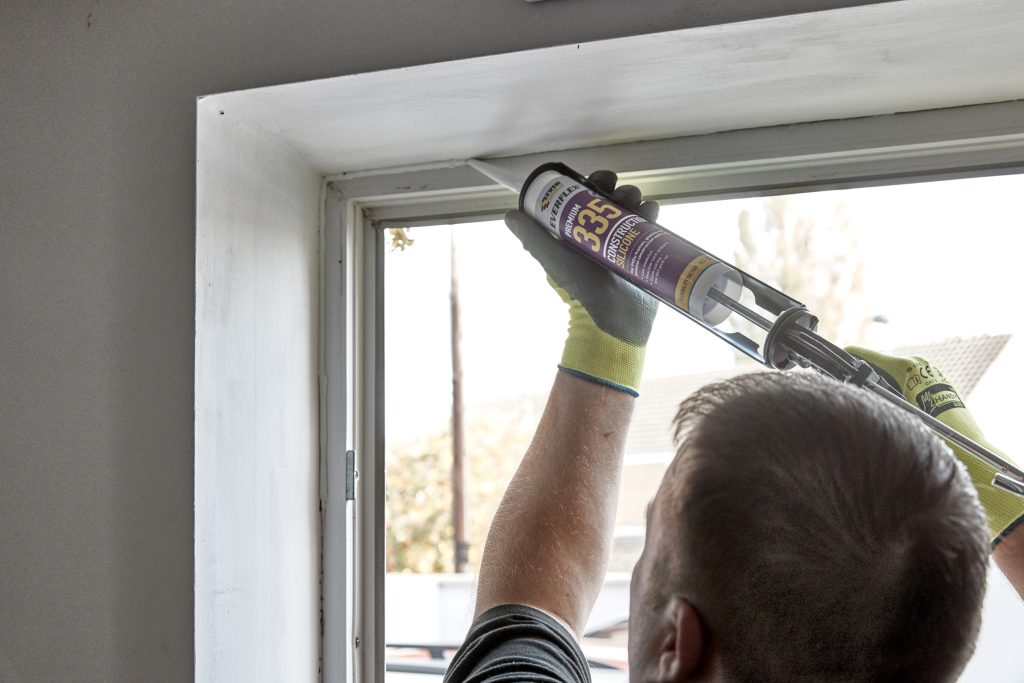
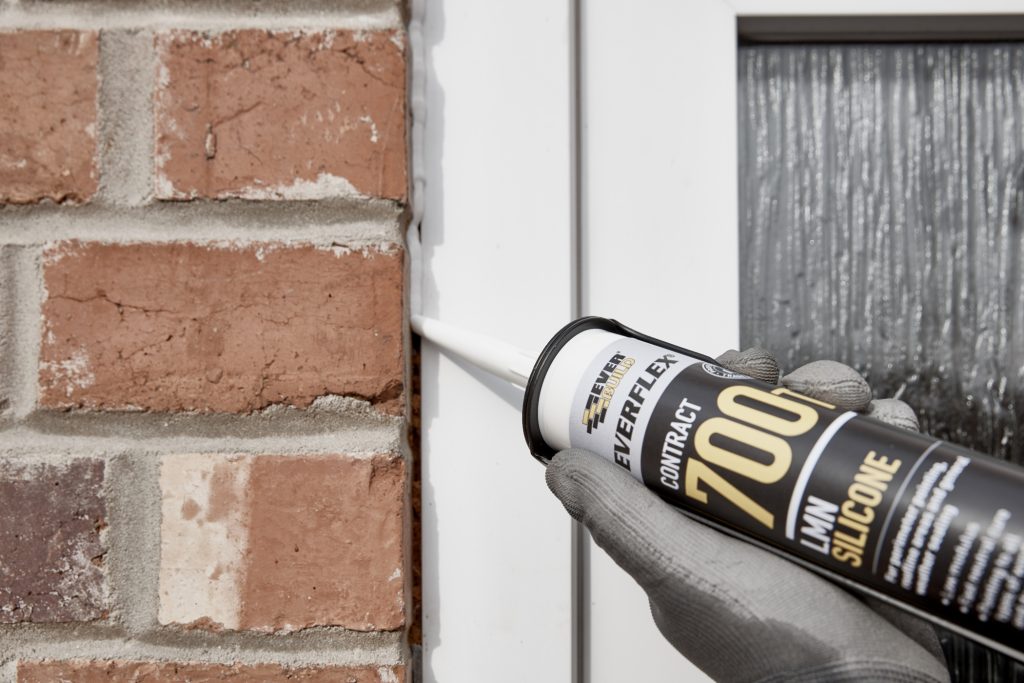
Step 5: Apply the adhesive
Once you have done the above steps, it’s time to apply adhesive using an adhesive gun. Apply a smooth, even layer of adhesive between each hole on each mat, taking care not to leave out any gaps or areas.
Step 6: Secure the sound mat
Next, make sure the soundproof mat is secure to the subfloor adhesive by using a flooring roller to roll over the entire surface of the sound mat. This will help press the mat firmly into the adhesive.
Step 7: Allow the adhesive to dry
The drying time for the adhesive will vary depending on the type, but generally it will dry within 6-8 hours.
Step 8: Seal the seams
If the soundproof mat has seams, use a seam sealer to seal them. This will prevent sound from traveling through the seams and help create a more effective sound barrier.
Looking for high-quality flooring products to complete your project?
Check out our selection of wood floor adhesives and mats, perfect for preparing your subfloor and reducing noise. Check out our wood flooring bundles.